Like many, probably most older folks, I have creaks, groans and pains that have come through a life lived with the bumps and knocks of just living a life. In my case some pretty serious back pain that I mostly learn to live with.
Before it became painfully obvious that the pain was here to stay, I had set my shop up with a Tool Stacker system, made up of closetmaid heavy duty shelf standards and brackets, with 18x24 3/4" plywood mount boards for my bench top tools.
Those bench top tools are.
- Dremel 16" scroll saw. VERY infrequently used.
- Ryobi 8" bench grinder with Wolverine jig / skew platform / VariGrind. Used VERY frequently with the lathe.
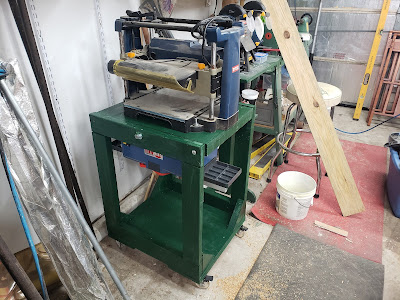
- Ryobi AP1301 13" lunchbox planer, used frequently with rough sawn lumber.
- Sunhill SM-150B 6-1/8" benchtop jointer used frequently with rough sawn lumber.
- Rigid EB4424 oscillating edge belt / spindle sander. Used frequntly but it is pretty light...

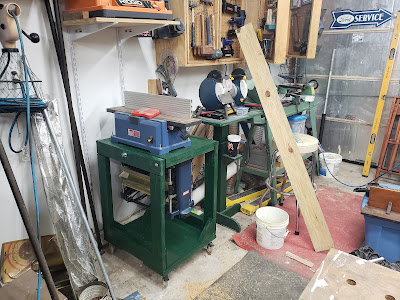
First things first, I had to get the grinder / sharpening jig squared away and kept close to the lathe so touch ups on my turning tools can happen RIGHT NOW. I took a cast off hunk of 4x4, some 3/4" pine legs for an abandoned valet project, and cobbled up a quick sharpening station / grinder stand, painted it green using Rustoleum brush on hunter green paint, there will be a theme with this stuff, stick with me here... Now my choice of a full speed grinder I know is controversial. I picked it because OneWay MFG, the folks that made the Wolverine jig recommended it.

So now I was down to 4 bench top tools, I have enough material to fully build one stand, so I need to chose the first two to be put on a stand.
The sander is light, and super easy to move around. So that one is out.
The scroll saw is kind of heavy, but lighter than either the jointer or planer, and it doesn't get used a lot.
The jointer, and planer, so related functions, AND are close in weight, they seemed to make the most sense for getting put on the first stand. So they are chosen.
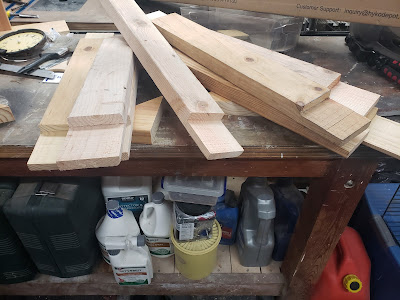
As I mentiond, I needed a flip top stand, well actually two, but had materials to build one... And I have wanted to build these for well over a decade now, I just, well never thought of a simplified 2x4 construction grade lumber build... You always see cabinet grade plywood or better. Not my target for sure!
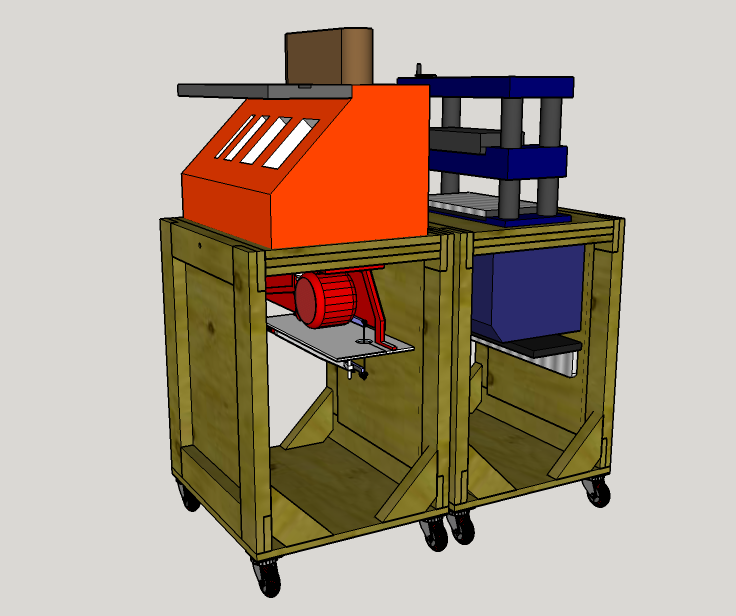
First go to Sketchup and knock out a design and make sure it all pivots and clears right. No problem... Honestly my build deviated in several key ways form the design due to materials I had on hand. Most notably the 2x4 corner braces were actually 2x6 triangles, the side fill panels that were to be rabbeted in are omitted as the 2x4 stock I had had a lot of, uh, live edge / bark inclusion and there was no way to make a clean rabbet. And the bases feature an additional brace running full width across the front and back between the casters.
Next get to building... Here is sizing up / cut the half lap joints in the 2x4s. No they are not clean, I cut them on the bandsaw WAY too fast and did not to test fits so the joints are sloppy. But they suit the need.
Once the sides were cut out, joined together with glue and screws, and the kicker braces were cut, and joined to insure a 90 degree side. NOTE FOR NEXT BUILD. For my next build I will cut the half laps on the table saw and insure a TIGHT and FLUSH fit instead of the sloppy overlapping fit fo these. I will NOT use metal fasteners, but rather hardwdwood dowels so the only things in there are wood, and glue.
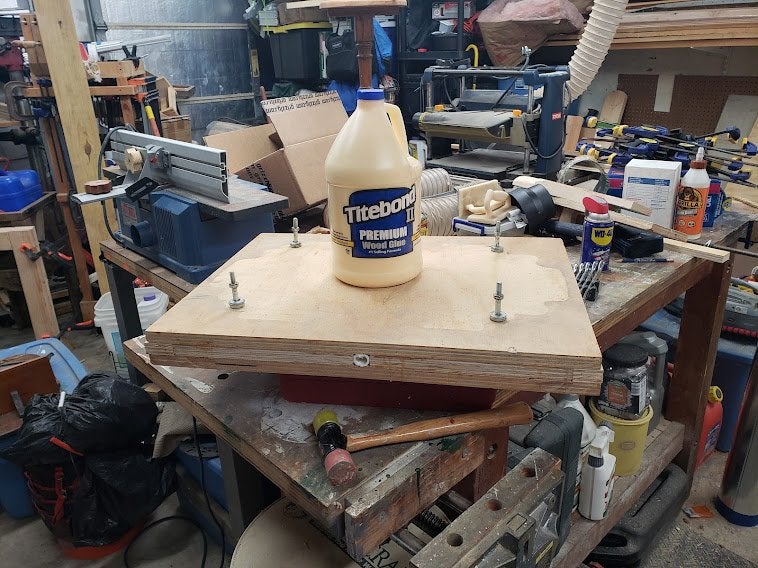
Sized up the pieces for the platform. Filled the backer holes for the bolts with sawdust and a LOT of wood glue, sanded it smooth and set the 1/2" PVC bushing for the 1/2" all thread axle. Then glued up the platform. I know the pic shows Titebond 2, but I actually used Gorilla Glue waterproof wood glue on this build. I took the pic of the TB2 because I was THRILLED I could finally find some locally after the stuff being out of stock for months.
Trimmed the edges with the router / edge trimming bit.
Set sides back to back, drilled holes for the axle, and the pivot lock pins A.K.A. 5/16 x 2.5
carriage bolts.
Lots of paint, assembly blah blah blah, and it's done.
Gas Machine tool Engineering Machine Toolroom
The pivot works perfectly and it takes up less floor space than I would have thought. All in all a great project. I learned a few things in the build and am going to start on the build for the sander / scroll saw soon.
Contrary to what people keep telling me to go with a floor model, I do want to upgrade my jointer, but I want to go with a Wahuda 10" Benchtop jointer. Unfortunately this will require me to build a new flip top stand with a 4" wider platform so the pivoting platform would be 24" x 22".
So no more lifting and twisting while carrying heavy benchtop machines...
I can now move on to my next project, which is actually continuing with an existing project. I need to source up some more 3/4" ply, and build new shelves for the linen closet in the master suite, bullnosed, and finish the drywall work in the dressing room and master bath after stripping out the 1980s wallpaper that just did NOT want to give up!
No comments:
Post a Comment